Common Faux Beam Installation Mistakes
Key Takeaways
- Adhesive is not a fixing method. Beams are carried by mounting blocks fixed into joists or added blocking.
- Size follows ceiling height first, then room proportions, then the look. Choosing from a photograph reverses that order.
- Your ceiling is not flat. A beam is straight, and the eye reads a long horizontal as a level reference — so the gap shows.
- Beams and lighting laid out independently is the most common visible defect on a finished ceiling.
- Where a joint lands is a decision. Put it near a wall or behind a fixture, never in the middle of the room.
- Nothing hangs from a decorative beam. Loads go into structure behind it, with the beam cut around the mount.
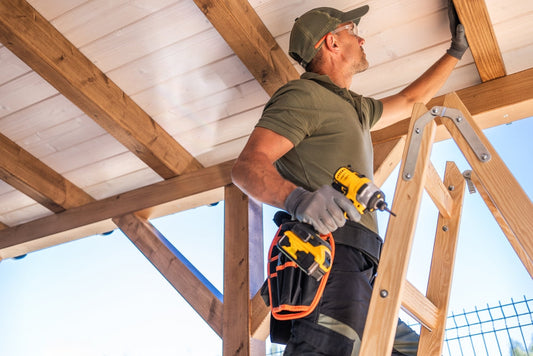
Faux beams are genuinely within reach of a competent DIY installer. They cut like soft pine, one person can carry a length that would take three in real timber, and the tools are the ones already in the garage. That accessibility is also why the same handful of mistakes turn up again and again — the labor is easy, and it is the judgment calls that decide whether the finished ceiling reads as architecture or as something stuck on.
These are the ones we see most, roughly in order of how expensive they are to undo.
1. Relying on adhesive instead of mounting blocks
The single most consequential error. Beams are carried by timber mounting blocks — cleats fixed into joists, or into blocking added between them — with the beam sliding over and fastening to the block. Adhesive supplements that fixing. It is not the fixing.
A beam glued to drywall will hold for a while. It will hold through the first winter. What it will not necessarily hold through is a hot attic in August, and a beam coming off a ceiling is a different category of problem from a beam that looks slightly wrong.
Find the structure, block where there is none, and fix into it. The installation guide covers block sizing and spacing.
2. Choosing the size from a photograph
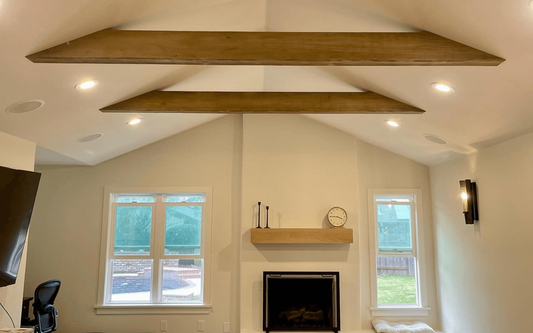
The second most expensive, and the least reversible once ordered. A beam that suits a photograph of a twenty-foot vaulted great room will look absurd on a nine-foot flat ceiling, and a beam scaled for a nine-foot ceiling disappears in a vault.
Size follows the room: ceiling height first, then room proportions, then the look. Get it in that order and the style choice is easy. Get it backwards and no finish will rescue it. See choosing the right beam size.
3. Assuming the ceiling is flat and level
It is not. Ceilings sag, joists deflect, floors settle. A variation of an inch across a room is entirely normal.
A beam is straight. Where the two disagree, you get a tapering gap at one end — and because the eye reads a long horizontal line as a level reference, that gap is far more visible than the ceiling's own slope ever was.
Measure the height in several places before you start, decide where any discrepancy will be absorbed, and scribe or shim rather than hoping. This is also why measuring properly matters more than it seems.
4. Laying out beams and lighting independently
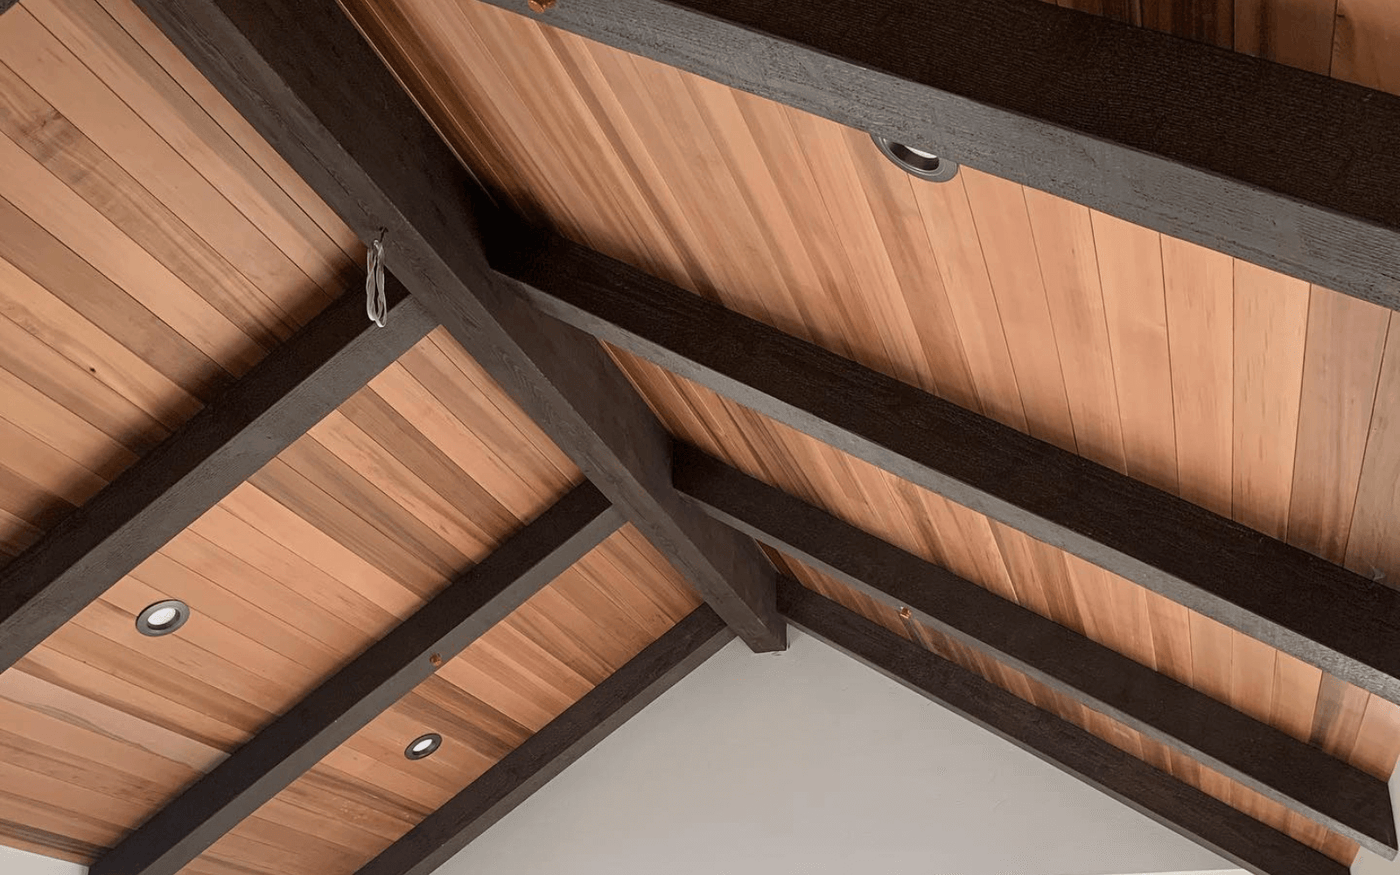
Two grids, drawn by different people at different times, imposed on the same plane. The result is downlights clipped by beam edges, fixtures sitting an inch off center in a bay, and hard shadows raking across every beam face.
Whichever comes second has to be planned against the first. If the lights are in and cannot move, that constrains the beam layout — accept the constraint rather than discovering it. Planning lighting for a beamed ceiling covers both directions.
5. Putting the joints where the eye goes
On any run longer than a single length there will be a joint. Where it lands is a decision, and leaving it to chance means it lands in the middle of the room, at eye height on a sloped beam, or directly under the main light.
Put joints where the room does not look: near a wall, above a doorway, behind a light fitting, at a genuine intersection where a joint is expected anyway. A well-placed joint disappears; a centered one never does.
6. Finishing the joints as an afterthought
The corners, butt joints and beam ends are what give a decorative ceiling away, and they take longer than the hanging does. Filling, sanding and touching in a seam so the grain reads continuous across it is the skill in the whole job.
Budget real time for it. If you are hiring, ask to see a close-up photograph of a joint rather than a wide shot of a room — wide shots hide exactly the thing you are trying to assess. That question and nine others are in hiring a ceiling installer.
7. Running beams the wrong way
As a general rule beams run across the shorter dimension, which makes a room read wider, and they run with the slope in a vault. Running them along the long axis of an already-long room emphasizes exactly the proportion you would usually want to correct.
There are reasons to break that rule — an existing structural feature, a strong window wall, an open plan where the beams are defining zones. Break it deliberately, not because that is the direction the joists happened to run.
8. Cutting before dry-fitting
Polyurethane cuts easily, which makes it tempting to cut to the measured number and go up the ladder. Hold the piece in position first, mark it in place, then cut. Rooms are not square, ceilings are not flat, and the number on the tape is a prediction.
Work from one end in sequence rather than cutting everything to a list. The last beam absorbs the accumulated difference, so it should be the one cut last.
9. Ordering exactly enough
No allowance for a miscut, a damaged corner in transit, or a length that turns out to be needed. On a made-to-order product, one short piece is not a trip to the store — it is another production run, and standard lines run roughly four to six weeks.
Talk through the allowance when you order rather than discovering the gap on install day.
10. Treating a decorative beam as a structural one
They carry nothing but their own weight. Nothing should be hung from them — not a swing, not a heavy fixture, not a projector, not a hammock — unless the load is carried by structure behind the beam and the beam is simply passing over it.
Where a fixture does need to hang in a beam's position, the mount goes into the joist or into dedicated blocking, and the beam is cut around it. That is a normal detail and it needs planning, not improvising. See are faux wood beams structural or decorative.
11. Judging the finish from a screen
Finishes are hand-applied and photograph differently from how they look overhead in a real room's light. Some variation between pieces is normal, and it reads differently at ceiling height than in your hand.
Get a physical sample, and look at it in the room it is going into, at the time of day the room is actually used. See beam textures and finishes.
12. Stopping beams too close to the wall
A beam that ends four inches short of a wall reads as a mistake rather than a decision. Either commit — run it into the wall — or stop it far enough short that the gap is clearly deliberate. The uncomfortable middle distance is the one to avoid, and it is easier to see on a drawing than on a ladder.
If you would rather not
Most of these are judgment rather than skill, which is why the guides and the installation files are worth reading even if someone else is doing the work — they tell you what to ask about.
We also install directly across our service areas. Send us your room and we will tell you honestly whether it is a job worth doing yourself.
Frequently Asked Questions
Can I glue faux beams to the ceiling?
Not as the fixing method. Beams are carried by timber mounting blocks fixed into joists or into blocking added between them, with adhesive supplementing that. A glued-to-drywall beam often survives the first winter and then fails in a hot summer.
Which way should ceiling beams run?
Usually across the shorter dimension, which makes a room read wider, and with the slope in a vaulted ceiling. Break that rule deliberately — for a window wall, an existing feature, or to define zones in an open plan — but not just because that is the way the joists happen to run.
Where should beam joints go?
Where the eye does not travel: near a wall, above a doorway, behind a light fitting, or at a genuine intersection. A joint left to chance lands in the middle of the room or under the main light, which is exactly where it will be noticed.
Do I need to worry about my ceiling not being level?
Yes, and it almost certainly is not. An inch of variation across a room is normal. Because a beam is straight and the eye treats a long horizontal as a level reference, a tapering gap at one end is far more visible than the ceiling's own slope. Measure in several places and decide where to absorb it.
Can I hang anything from a faux beam?
No. They carry only their own weight. Where a fixture has to hang in a beam's position, the mount goes into the joist or into dedicated blocking and the beam is cut around it — a normal detail that needs planning rather than improvising.
Should I order extra material?
Discuss an allowance when you order. These are made to order, so a miscut or a corner damaged in transit is not a trip to the store — it is another production run, and standard lines run roughly four to six weeks.